Running our CorDapp
Now that we’ve written a CorDapp, it’s time to test it by running it on some real Corda nodes.
Deploying our CorDapp
Let’s take a look at the nodes we’re going to deploy. Open the project’s build.gradle file and scroll down to the
task deployNodes section. This section defines three nodes. There are two standard nodes (PartyA and
PartyB), plus a special network map/notary node that is running the network map service and advertises a validating notary
service.
task deployNodes(type: net.corda.plugins.Cordform, dependsOn: ['jar']) {

    nodeDefaults {
            cordapps = [
            "net.corda:corda-finance-contracts:$corda_release_version",
            "net.corda:corda-finance-workflows:$corda_release_version",
            "net.corda:corda-confidential-identities:$corda_release_version"
            ]
    }

    directory "./build/nodes"
    node {
        name "O=Notary,L=London,C=GB"
        notary = [validating : true]
        p2pPort 10002
        rpcPort 10003
    }
    node {
        name "O=PartyA,L=London,C=GB"
        p2pPort 10005
        rpcPort 10006
        webPort 10007
        rpcUsers = [[ user: "user1", "password": "test", "permissions": ["ALL]]]
    }
    node {
        name "O=PartyB,L=New York,C=US"
        p2pPort 10008
        rpcPort 10009
        webPort 10010
        sshdPort 10024
        rpcUsers = [[ user: "user1", "password": "test", "permissions": ["ALL"]]]
    }
}
We can run this deployNodes task using Gradle. For each node definition, Gradle will:
- Package the project’s source files into a CorDapp jar
- Create a new node in
build/nodeswith our CorDapp already installed
We can do that now by running the following commands from the root of the project:
// On Windows
gradlew clean deployNodes

// On Mac
./gradlew clean deployNodes
Running the nodes
Running deployNodes will build the nodes under build/nodes. If we navigate to one of these folders, we’ll see
the three node folders. Each node folder has the following structure:
.
|____corda.jar                     // The runnable node
|____corda-webserver.jar           // The node's webserver (The notary doesn't need a web server)
|____node.conf                     // The node's configuration file
|____cordapps
|____java/kotlin-source-0.1.jar  // Our IOU CorDapp
Let’s start the nodes by running the following commands from the root of the project:
// On Windows
build/nodes/runnodes.bat

// On Mac
build/nodes/runnodes
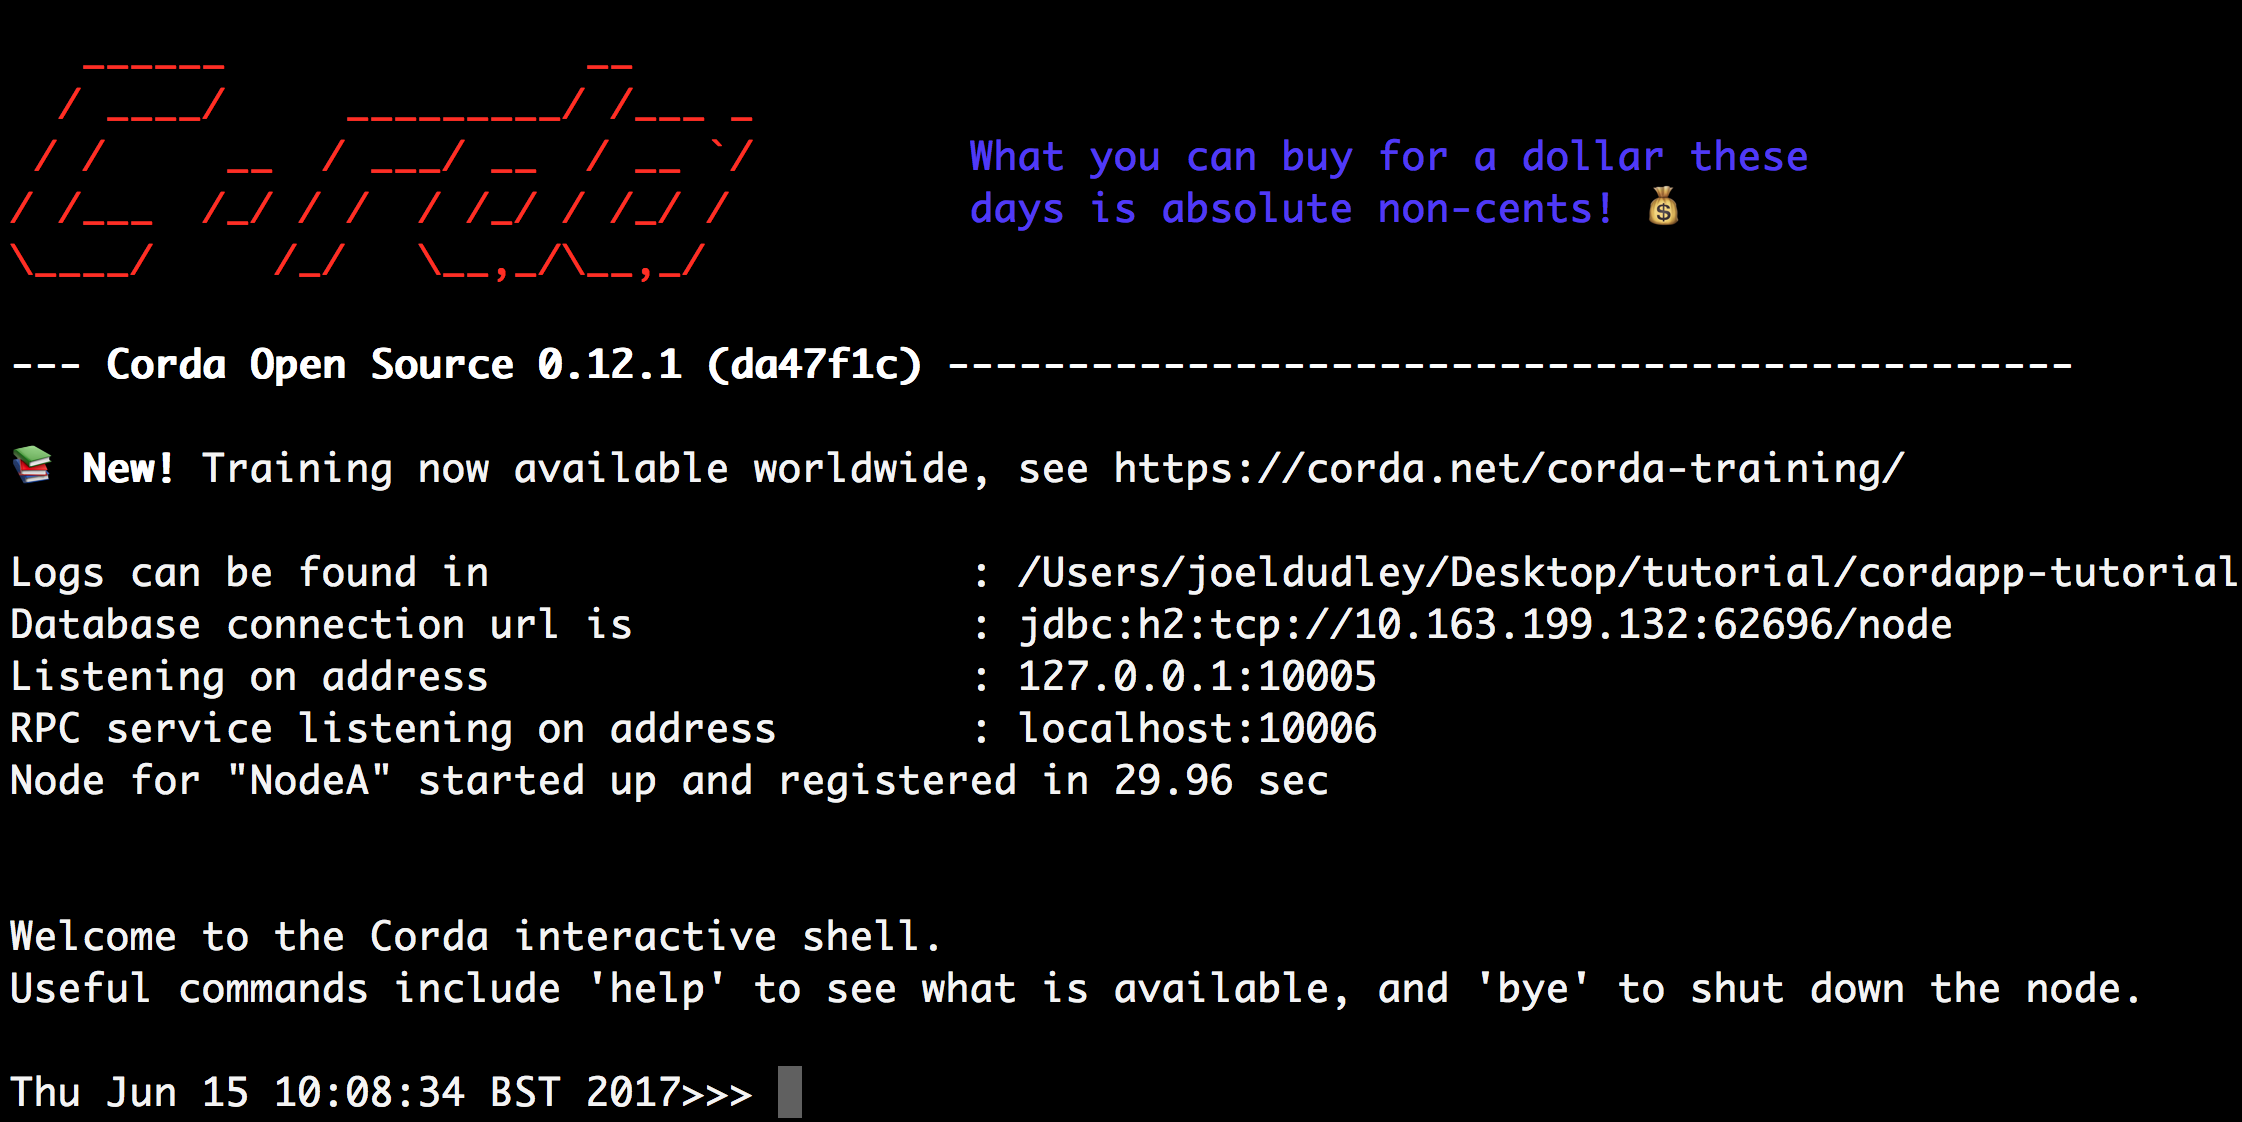
This will start a terminal window for each node, and an additional terminal window for each node’s webserver - five terminal windows in all. Give each node a moment to start - you’ll know it’s ready when its terminal windows displays the message, “Welcome to the Corda interactive shell.”.
Interacting with the nodes
Now that our nodes are running, let’s order one of them to create an IOU by kicking off our IOUFlow. In a larger
app, we’d generally provide a web API sitting on top of our node. Here, for simplicity, we’ll be interacting with the
node via its built-in CRaSH shell.
Go to the terminal window displaying the CRaSH shell of PartyA. Typing help will display a list of the available
commands.
注解
Local terminal shell is available only in a development mode. In production environment SSH server can be enabled. More about SSH and how to connect can be found on the Node shell page.
We want to create an IOU of 99 with PartyB. We start the IOUFlow by typing:
start IOUFlow iouValue: 99, otherParty: "O=PartyB,L=New York,C=US"
This single command will cause PartyA and PartyB to automatically agree an IOU. This is one of the great advantages of the flow framework - it allows you to reduce complex negotiation and update processes into a single function call.
If the flow worked, it should have recorded a new IOU in the vaults of both PartyA and PartyB. Let’s check.
We can check the contents of each node’s vault by running:
run vaultQuery contractStateType: com.template.IOUState
The vaults of PartyA and PartyB should both display the following output:
states:
- state:
    data:
      value: 99
      lender: "C=GB,L=London,O=PartyA"
      borrower: "C=US,L=New York,O=PartyB"
      participants:
      - "C=GB,L=London,O=PartyA"
      - "C=US,L=New York,O=PartyB"
    contract: "com.template.contract.IOUContract"
    notary: "C=GB,L=London,O=Notary"
    encumbrance: null
    constraint:
      attachmentId: "F578320232CAB87BB1E919F3E5DB9D81B7346F9D7EA6D9155DC0F7BA8E472552"
  ref:
    txhash: "5CED068E790A347B0DD1C6BB5B2B463406807F95E080037208627565E6A2103B"
    index: 0
statesMetadata:
- ref:
    txhash: "5CED068E790A347B0DD1C6BB5B2B463406807F95E080037208627565E6A2103B"
    index: 0
  contractStateClassName: "com.template.state.IOUState"
  recordedTime: 1506415268.875000000
  consumedTime: null
  status: "UNCONSUMED"
  notary: "C=GB,L=London,O=Notary"
  lockId: null
  lockUpdateTime: 1506415269.548000000
totalStatesAvailable: -1
stateTypes: "UNCONSUMED"
otherResults: []
This is the transaction issuing our IOUState onto a ledger.
However, if we run the same command on the other node (the notary), we will see the following:
{
  "states" : [ ],
  "statesMetadata" : [ ],
  "totalStatesAvailable" : -1,
  "stateTypes" : "UNCONSUMED",
  "otherResults" : [ ]
}
This is the result of Corda’s privacy model. Because the notary was not involved in the transaction and had no need to see the data, the transaction was not distributed to them.
Conclusion
We have written a simple CorDapp that allows IOUs to be issued onto the ledger. Our CorDapp is made up of two key parts:
- The
IOUState, representing IOUs on the blockchain - The
IOUFlow, orchestrating the process of agreeing the creation of an IOU on-ledger
After completing this tutorial, your CorDapp should look like this:
Next steps
There are a number of improvements we could make to this CorDapp:
- We could add unit tests, using the contract-test and flow-test frameworks
- We could change
IOUState.valuefrom an integer to a proper amount of a given currency - We could add an API, to make it easier to interact with the CorDapp
But for now, the biggest priority is to add an IOUContract imposing constraints on the evolution of each
IOUState over time. This will be the focus of our next tutorial.