Deploying Corda to Corda Testnet from a Google Cloud Platform VM
目录
This document explains how to deploy a Corda node to Google Cloud Platform that can connect directly to the Corda Testnet. A self service download link can be obtained from https://testnet.corda.network. This document will describe how to set up a virtual machine on the Google Cloud Platform (GCP) to deploy your pre-configured Corda node and automatically connnect to Testnet.
Pre-requisites
- Ensure you have a registered Google Cloud Platform account with billing enabled (https://cloud.google.com/billing/docs/how-to/manage-billing-account) which can create virtual machines under your subscription(s) and you are logged on to the GCP console: https://console.cloud.google.com.
Deploy Corda node
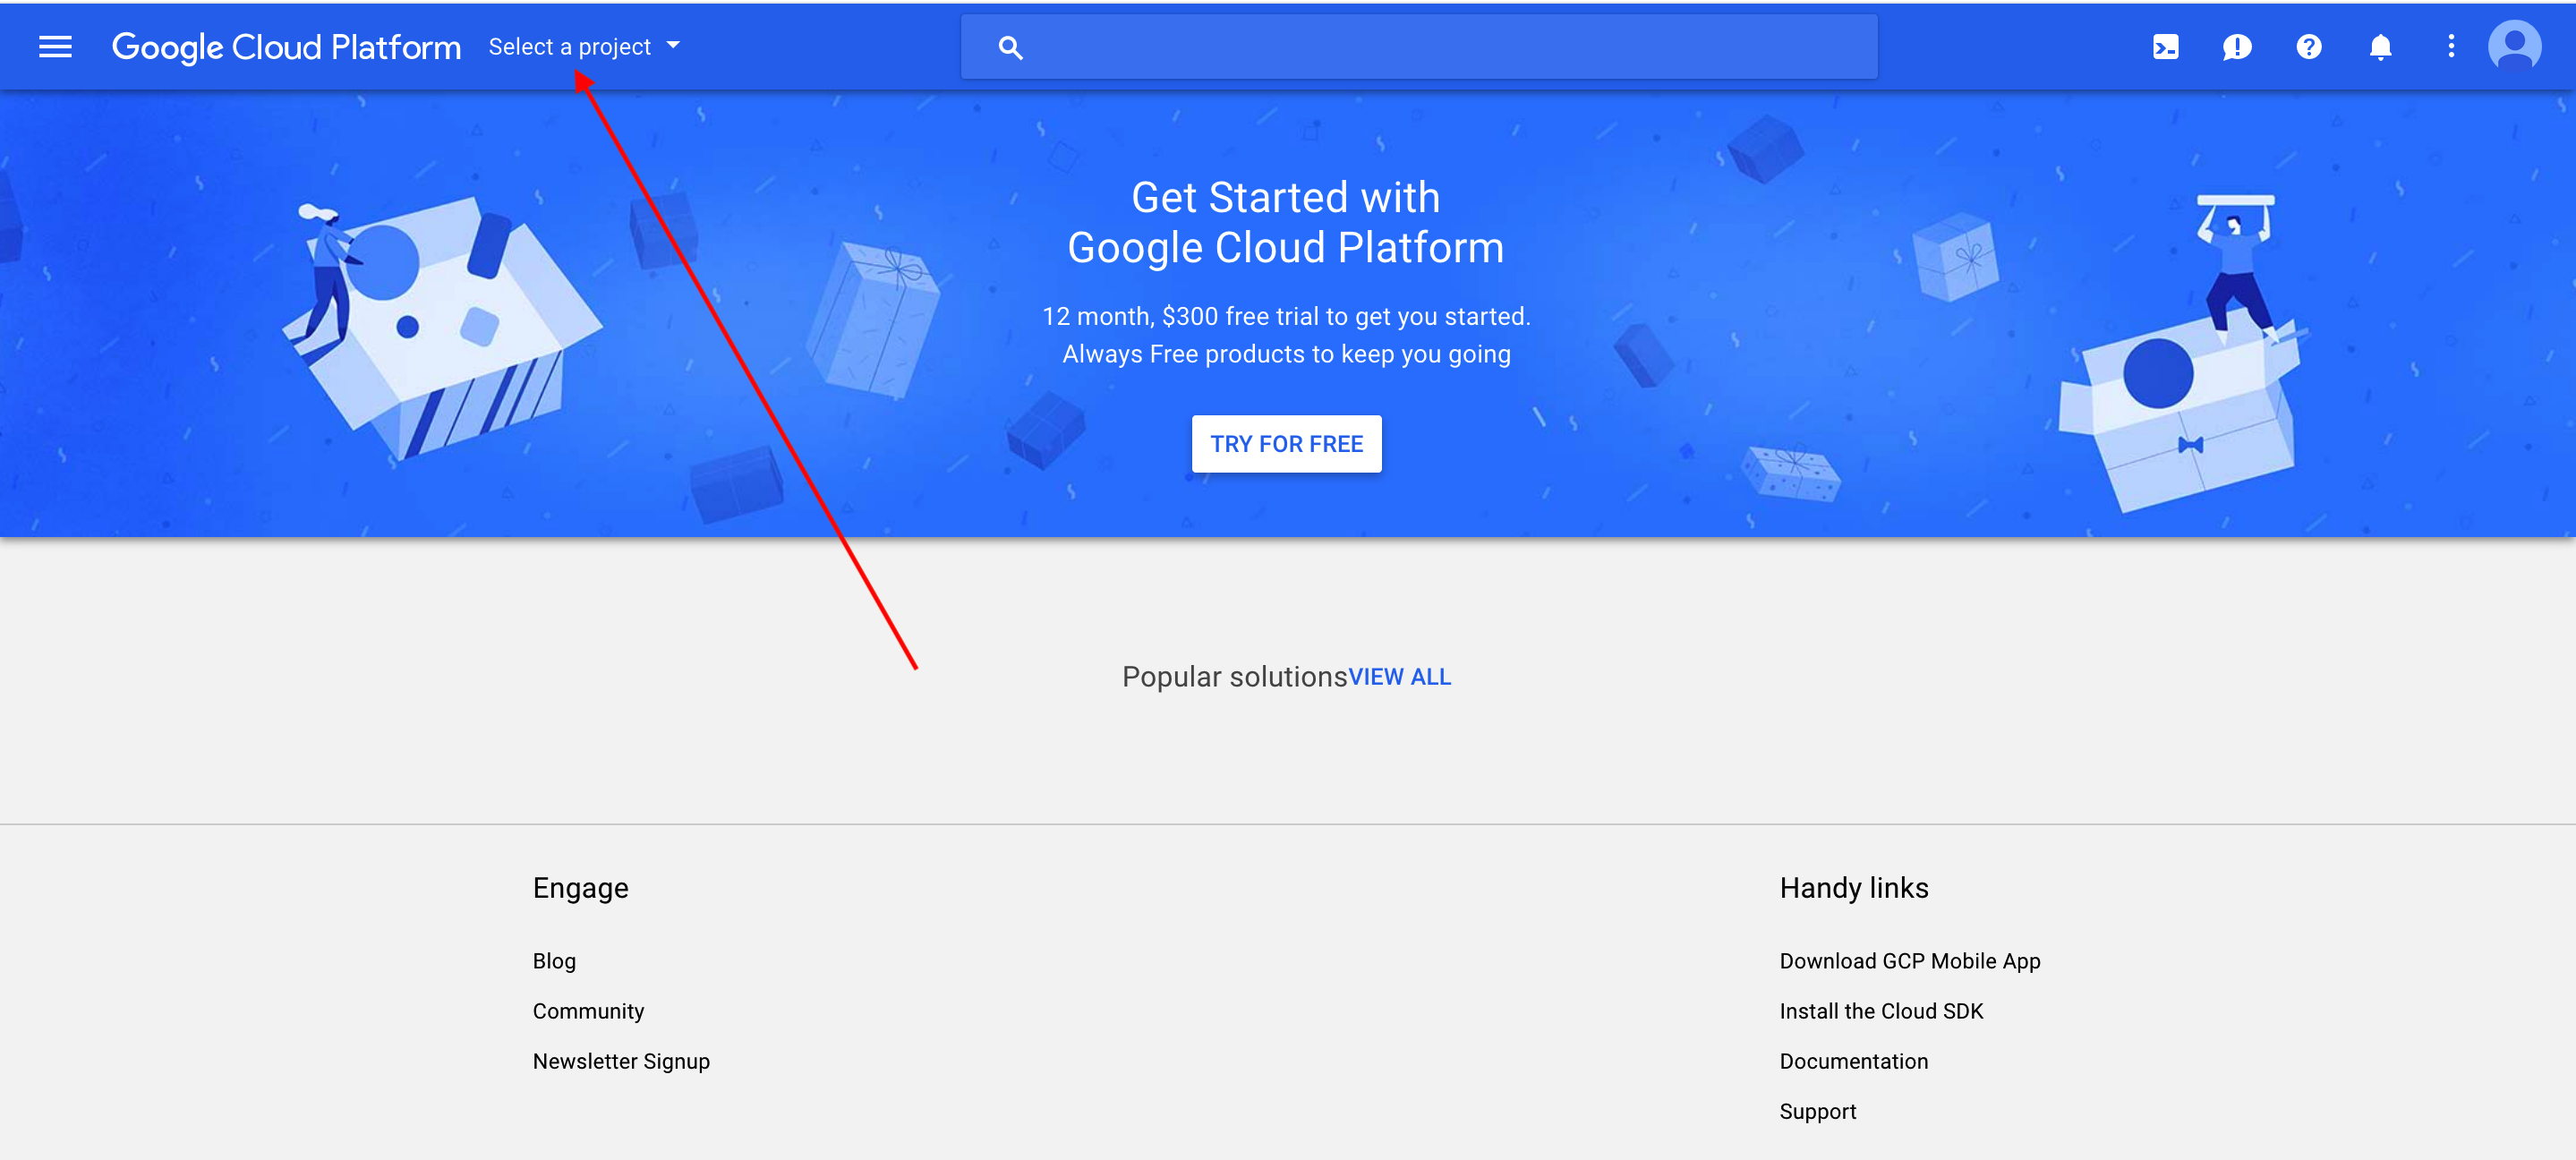
Browse to https://console.cloud.google.com and log in with your Google credentials.
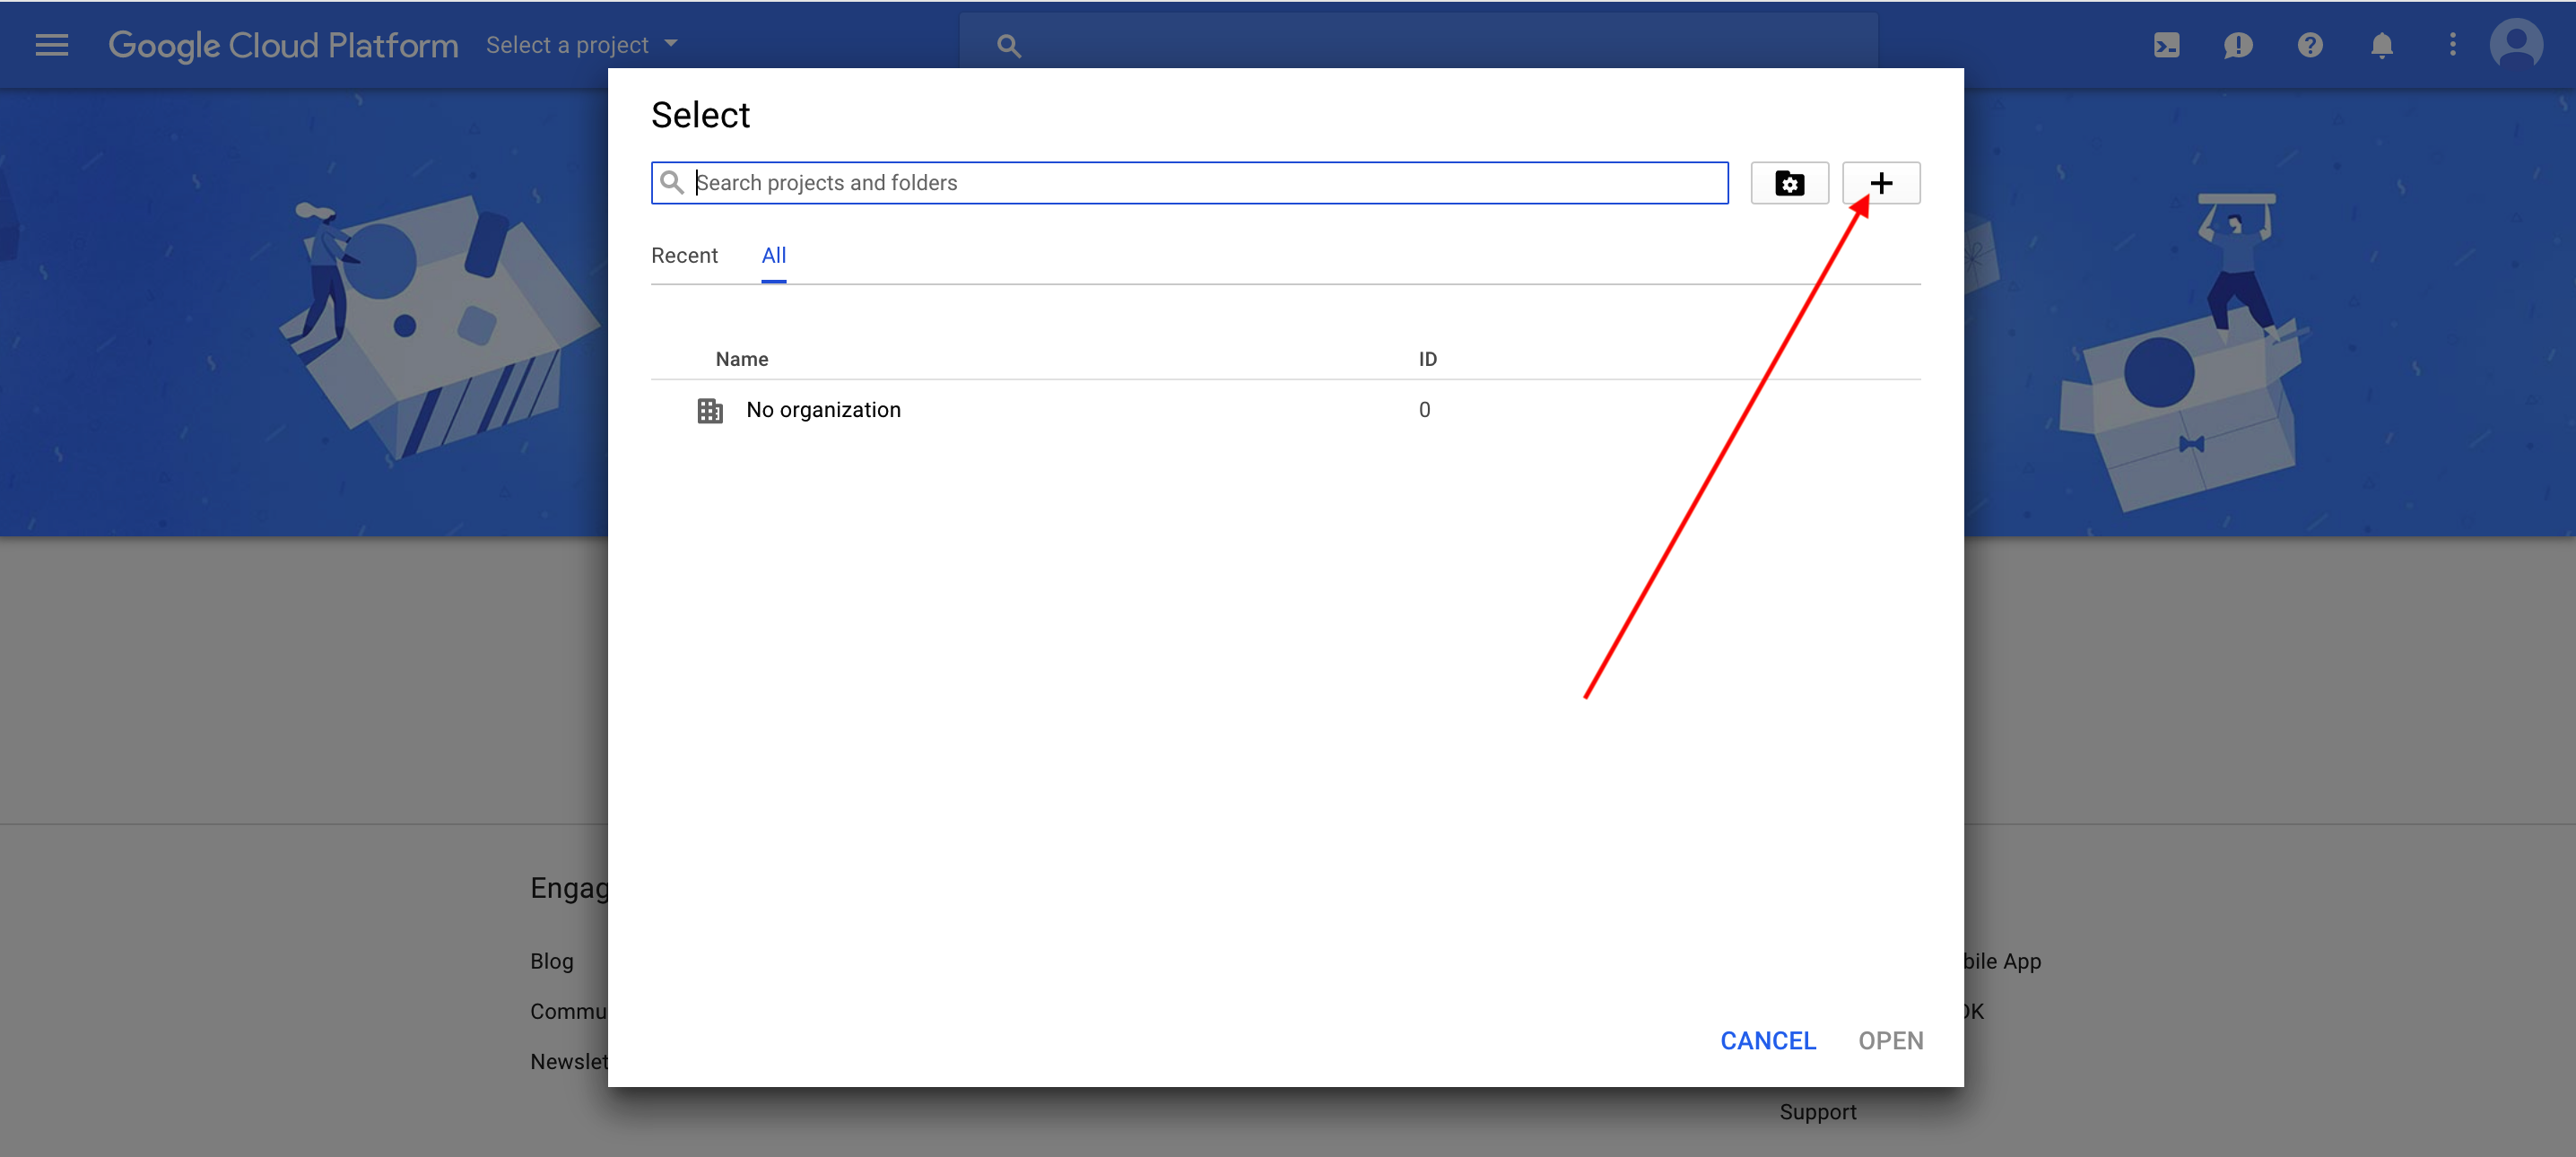
STEP 1: Create a GCP Project
In the project drop down click on the plus icon to create a new project to house your Corda resources.
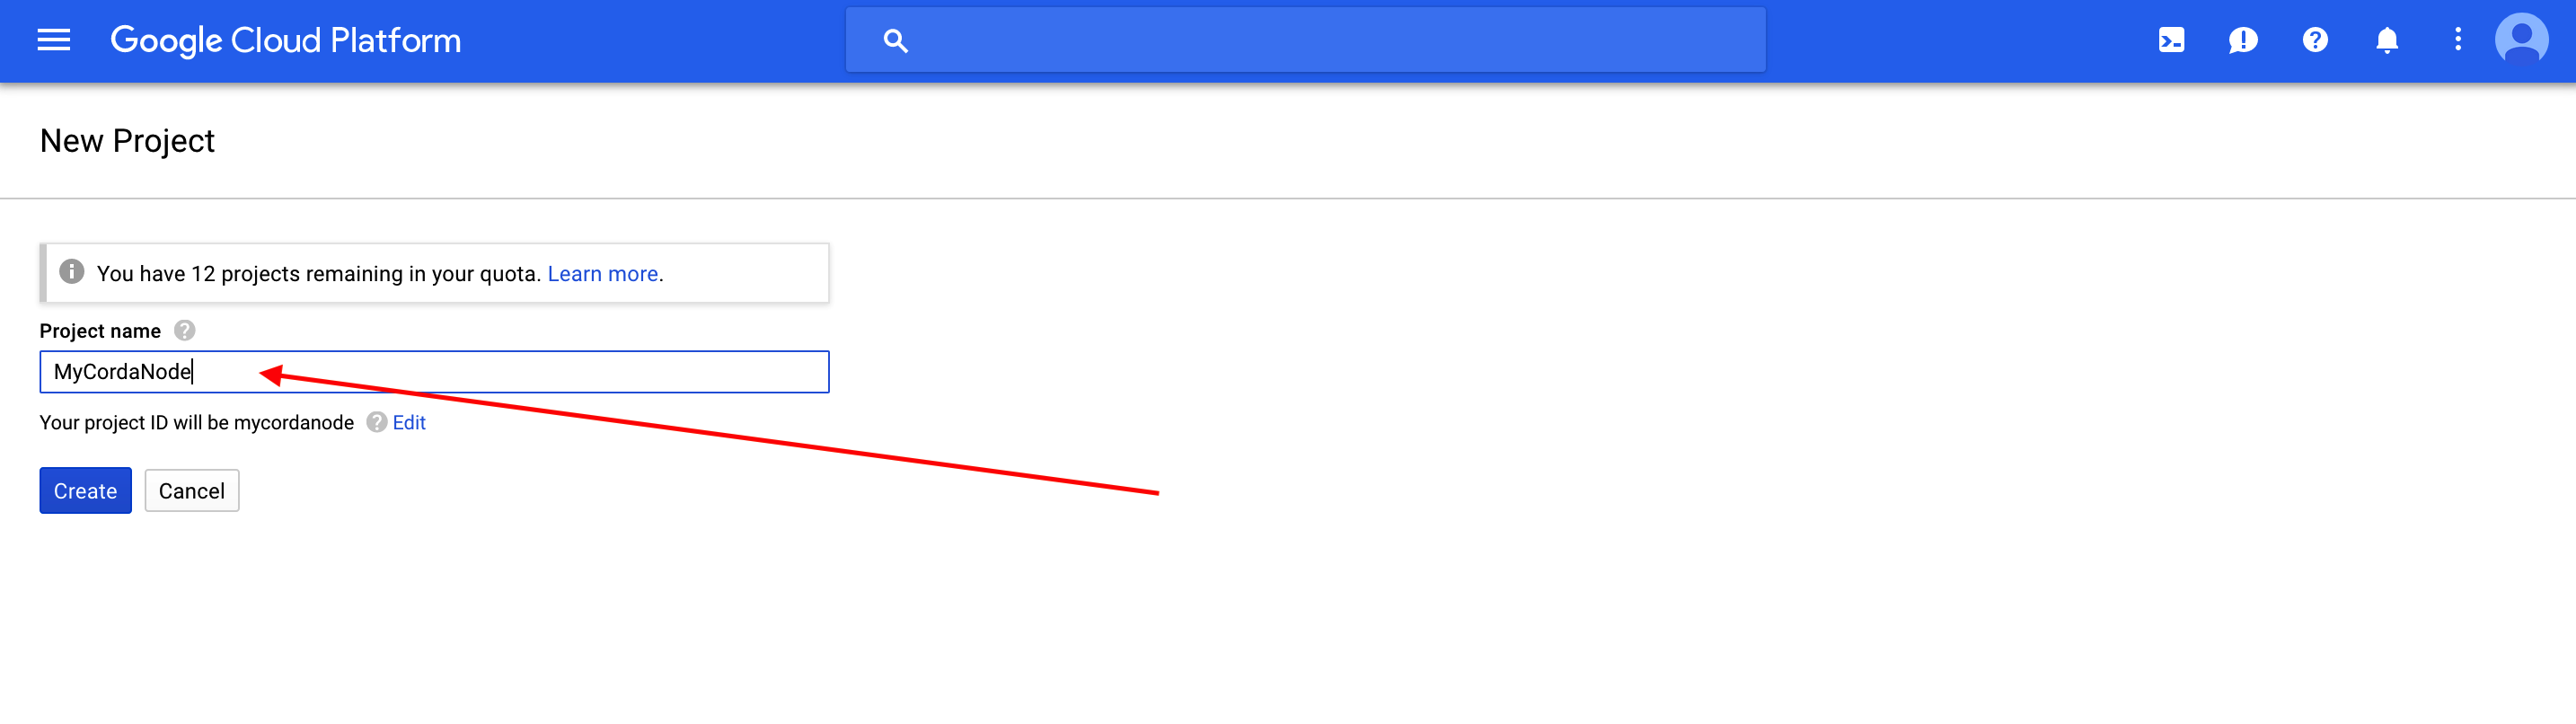
Enter a project name and click Create.
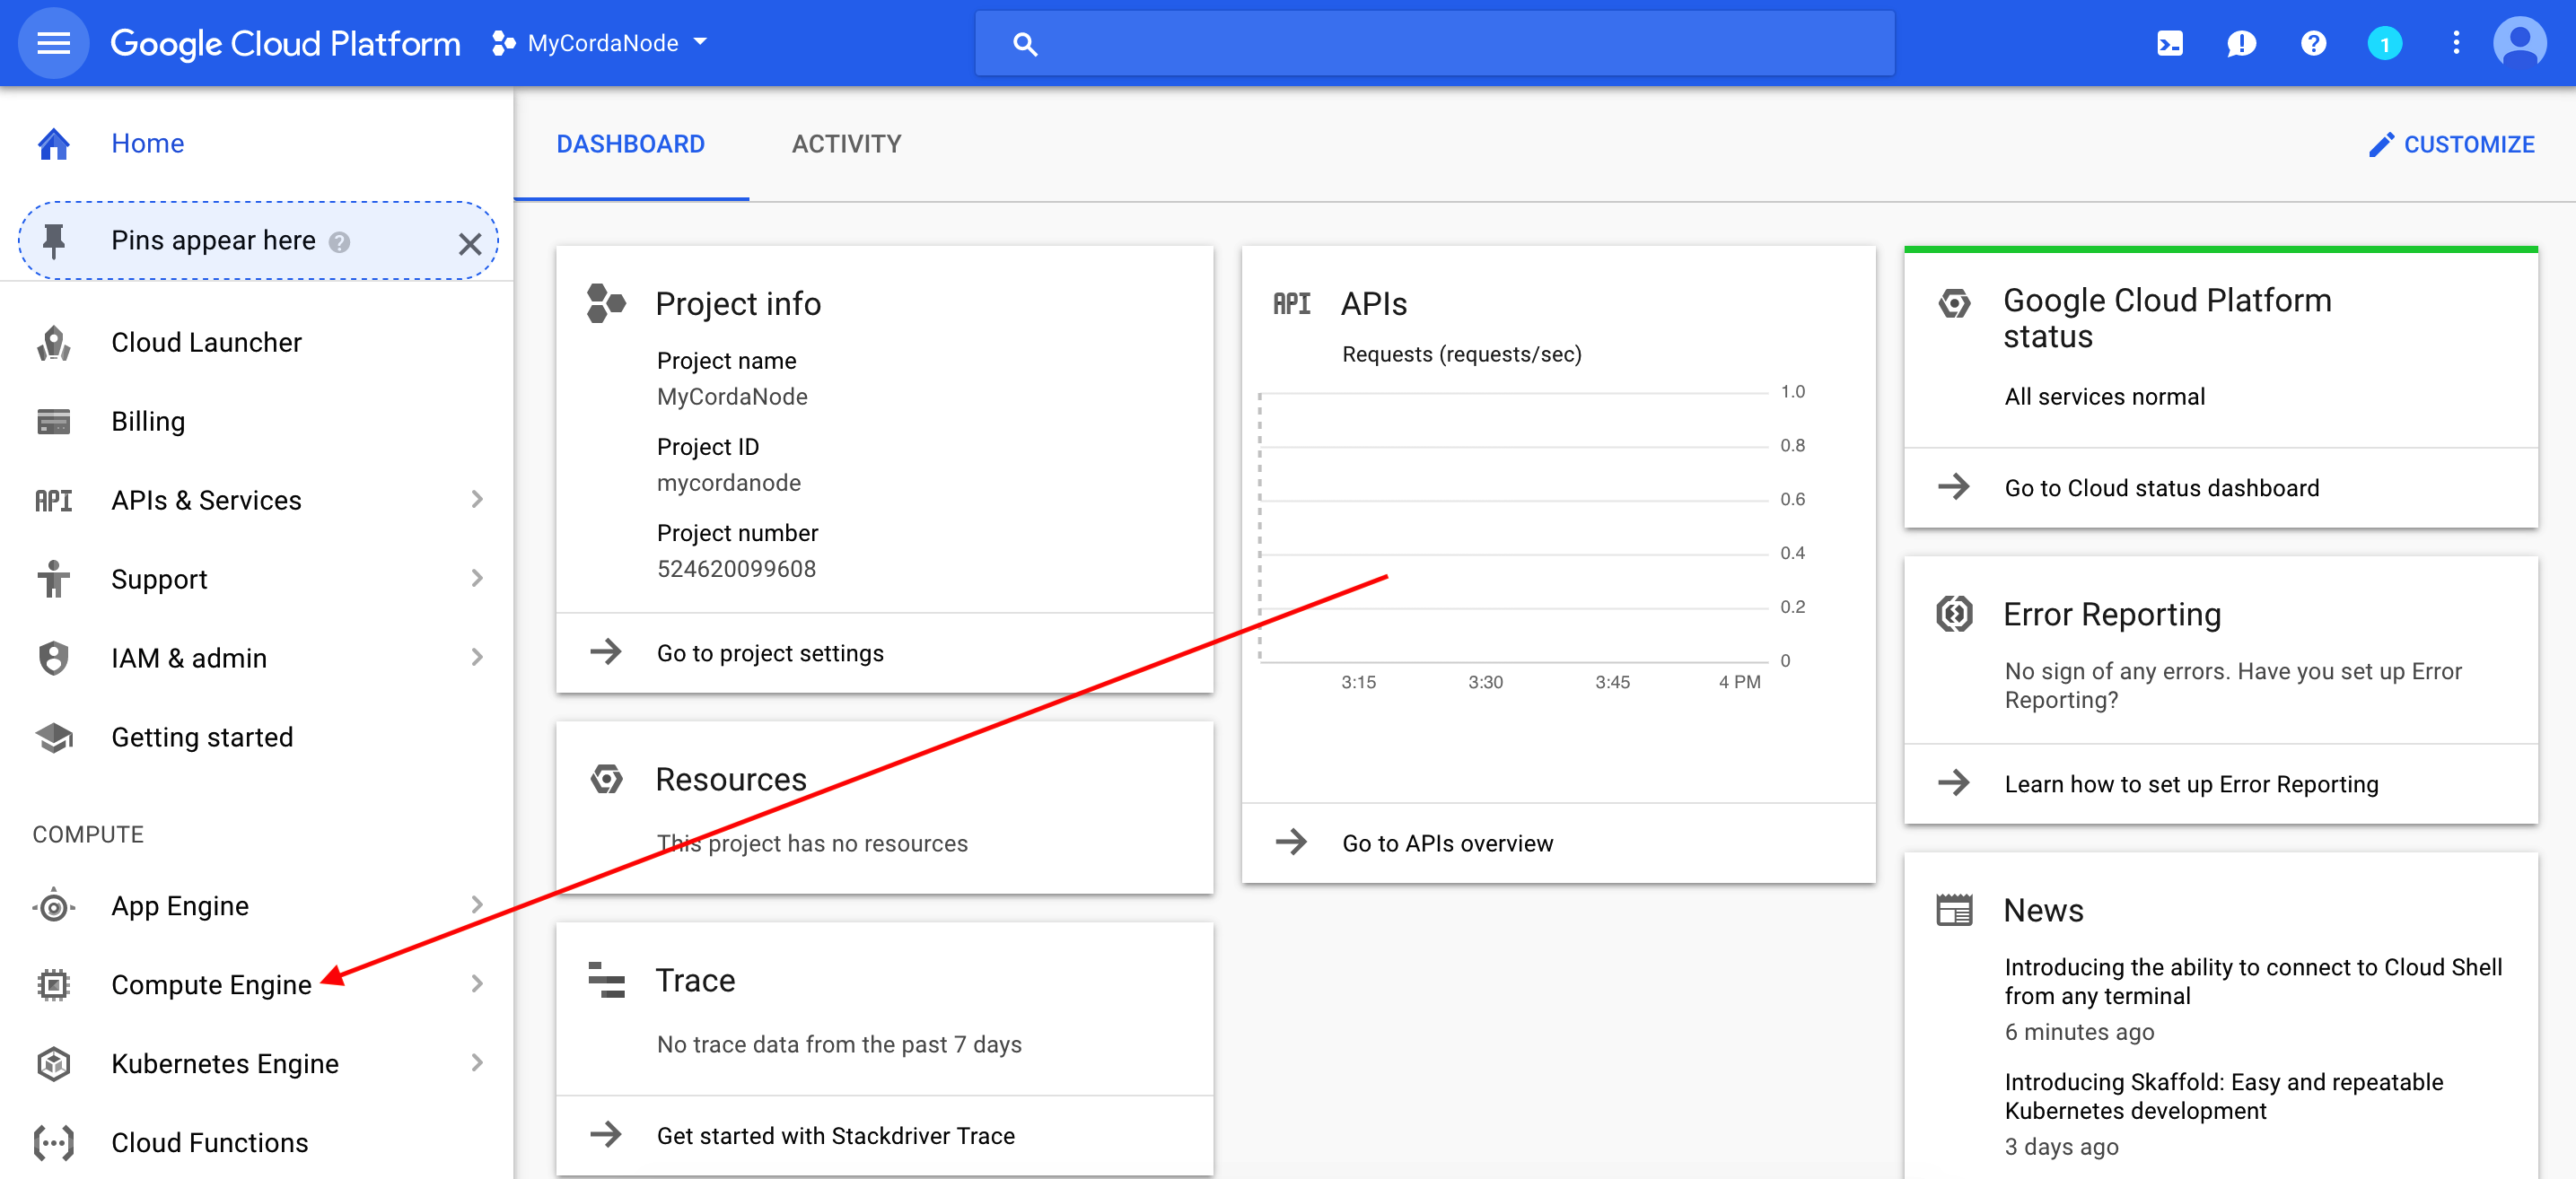
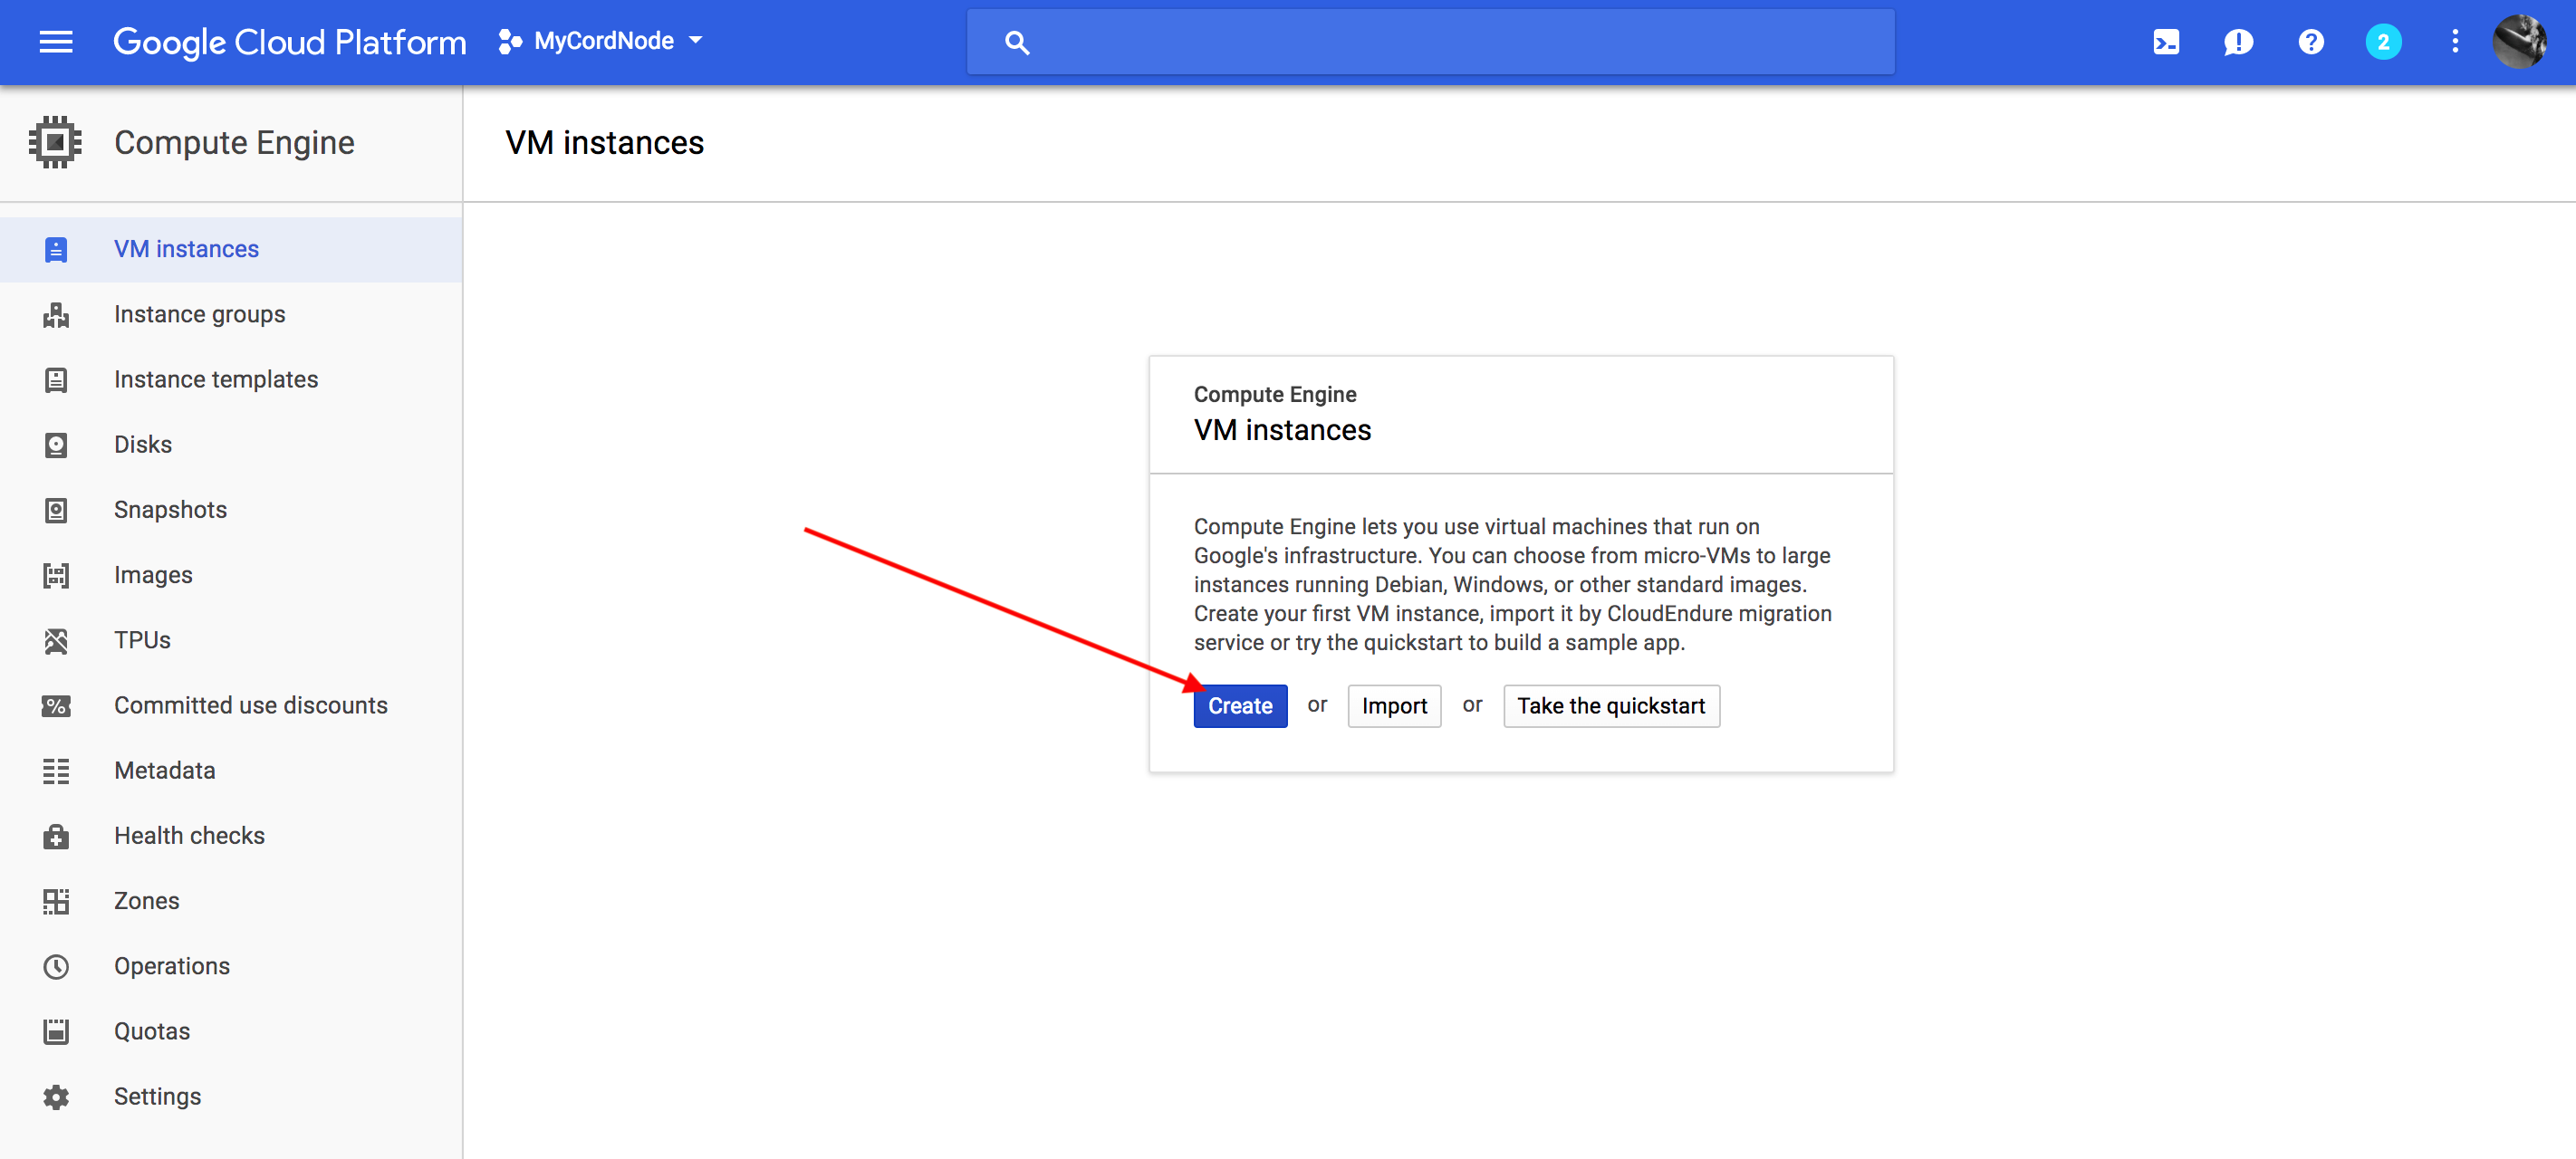
STEP 2: Launch the VM
In the left hand side nav click on Compute Engine.
Click on Create Instance.
Fill in the form with the desired VM specs:
Recommended minimum 4vCPU with 15GB memory and 40GB Persistent disk. Ubuntu 16.04 LTS.
Allow full API access.
Dont worry about firewall settings as you will configure those later.
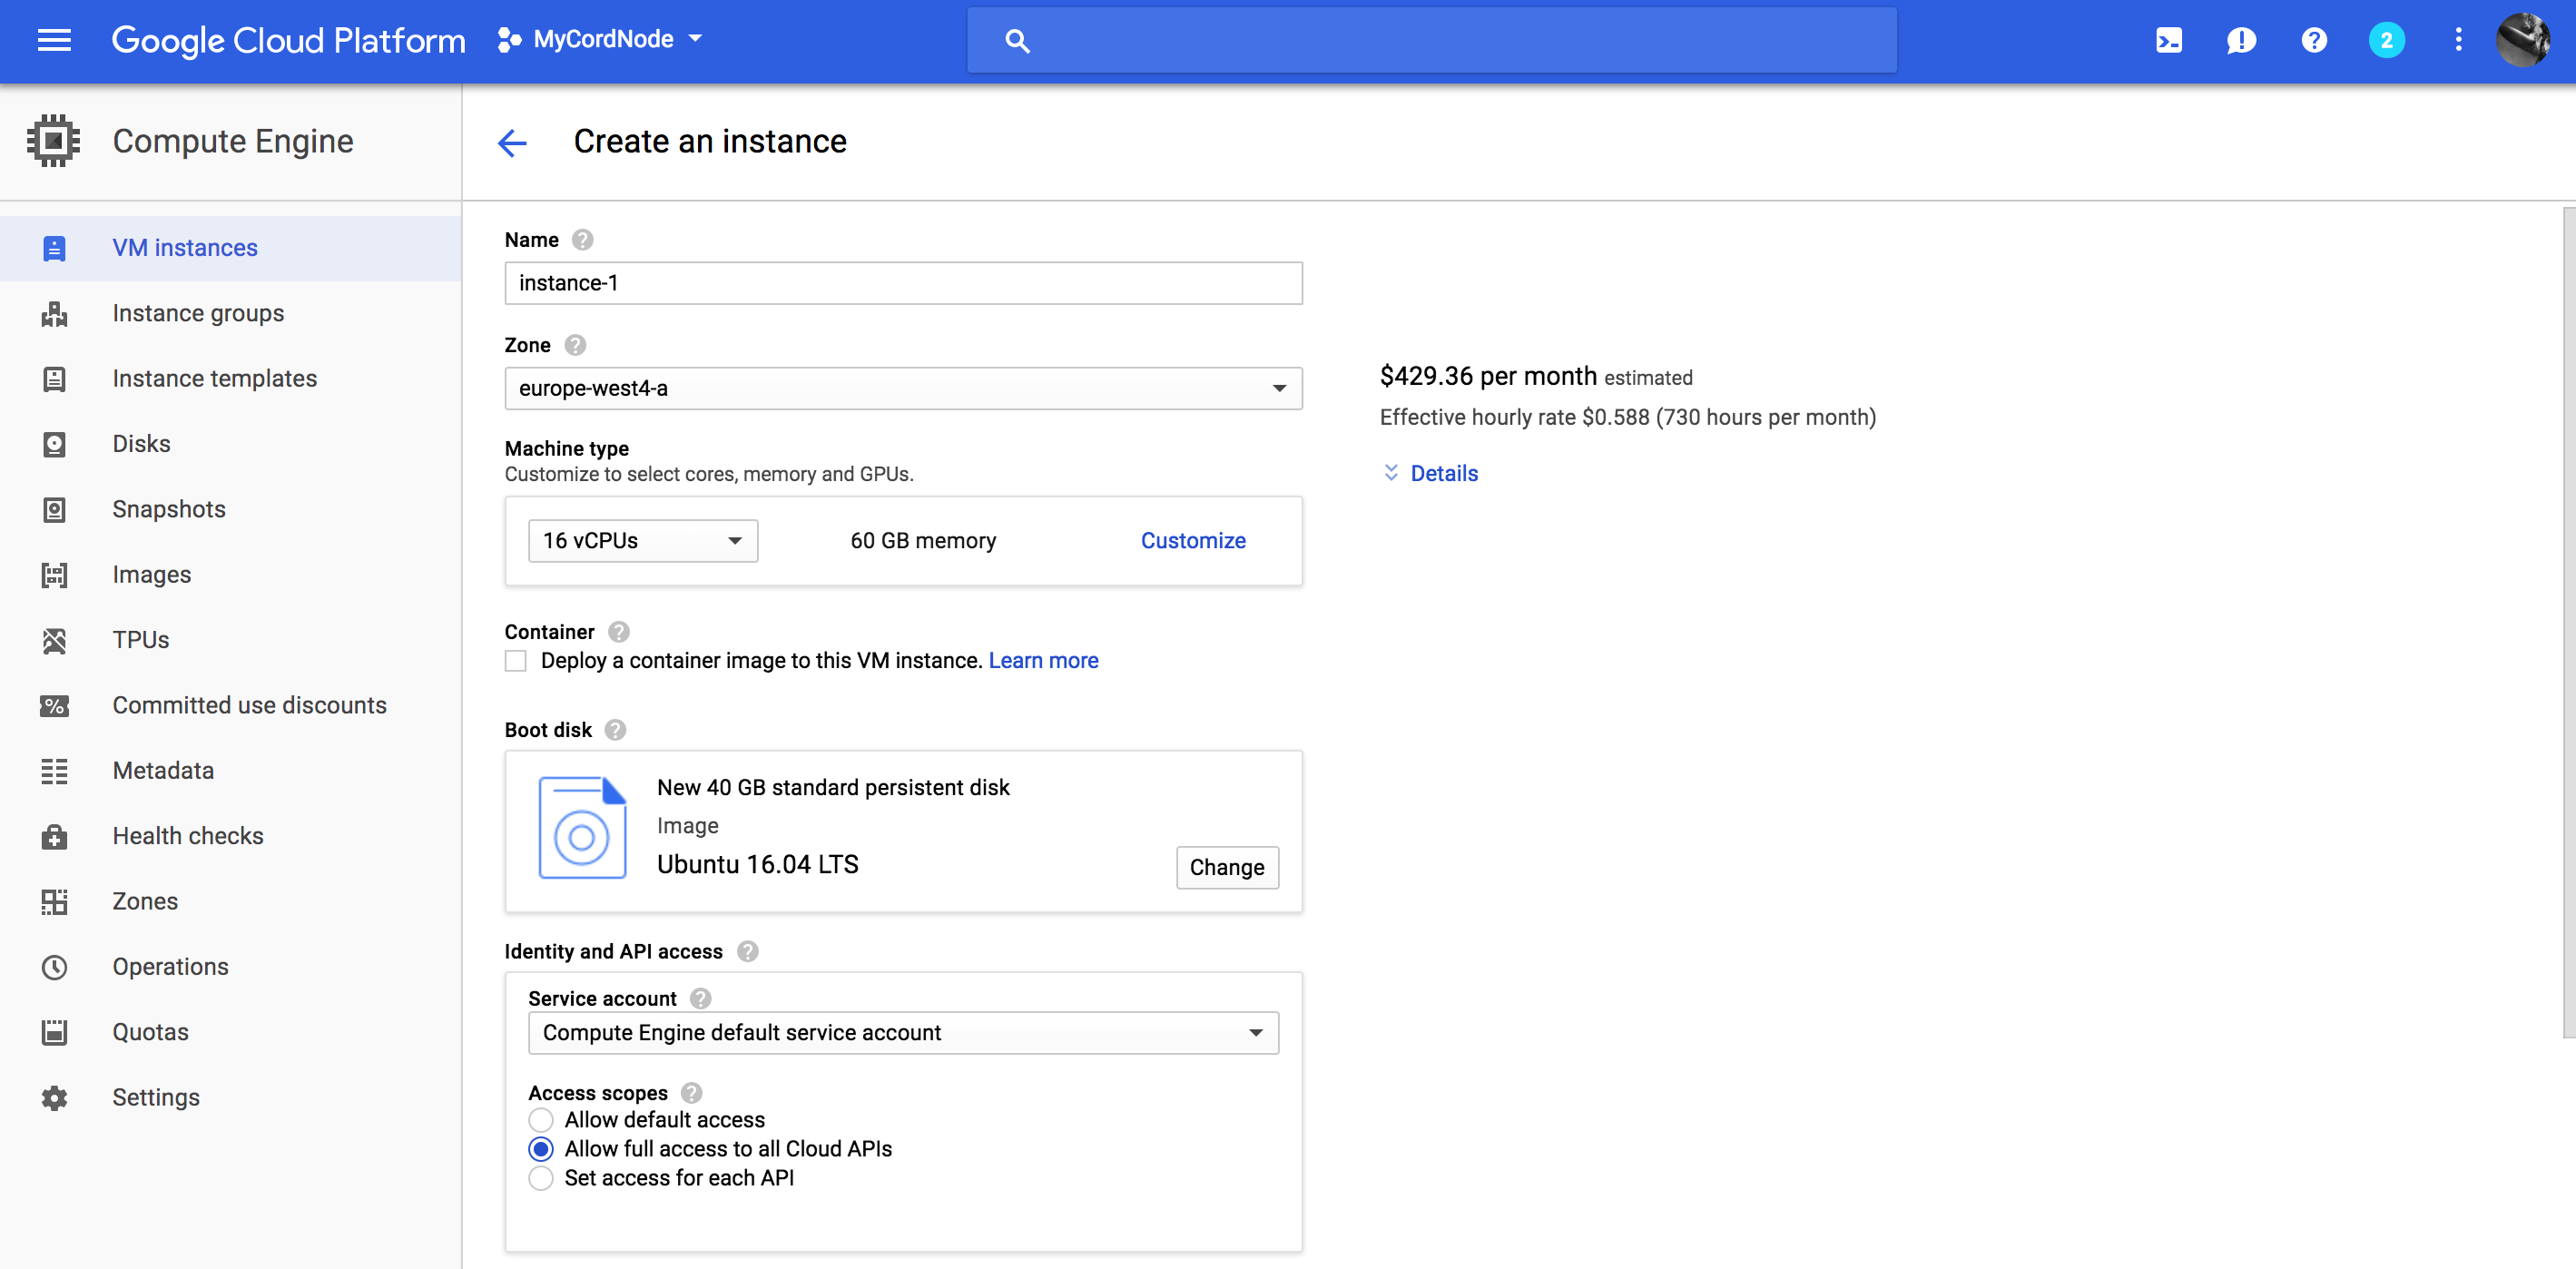
Click Create and wait a few sections for your instance to provision and start running.
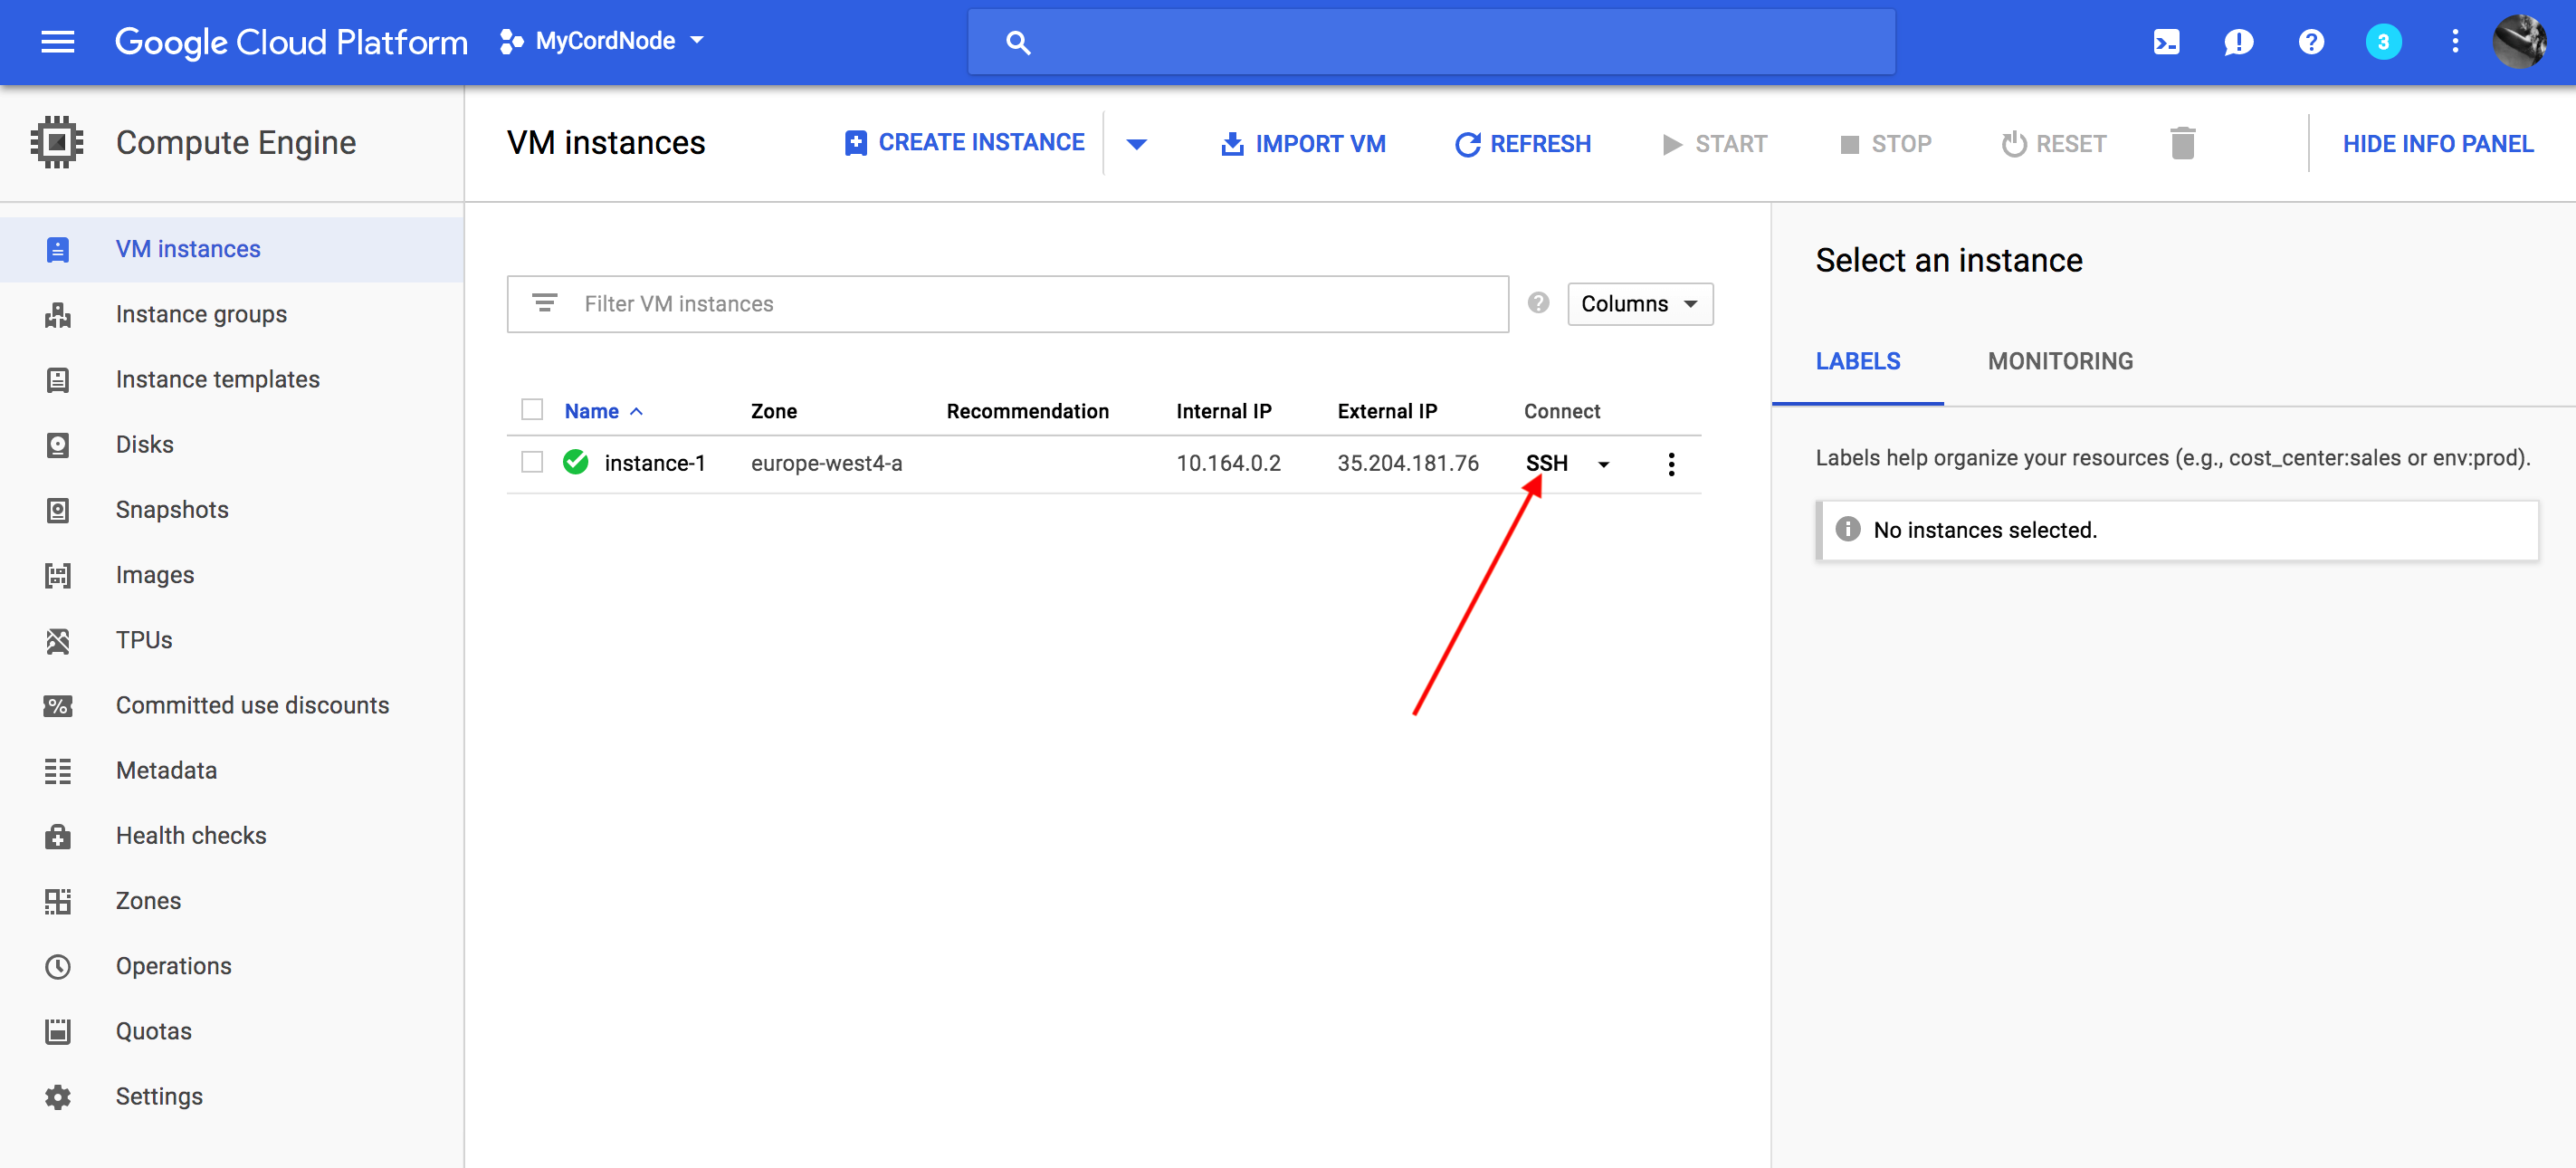
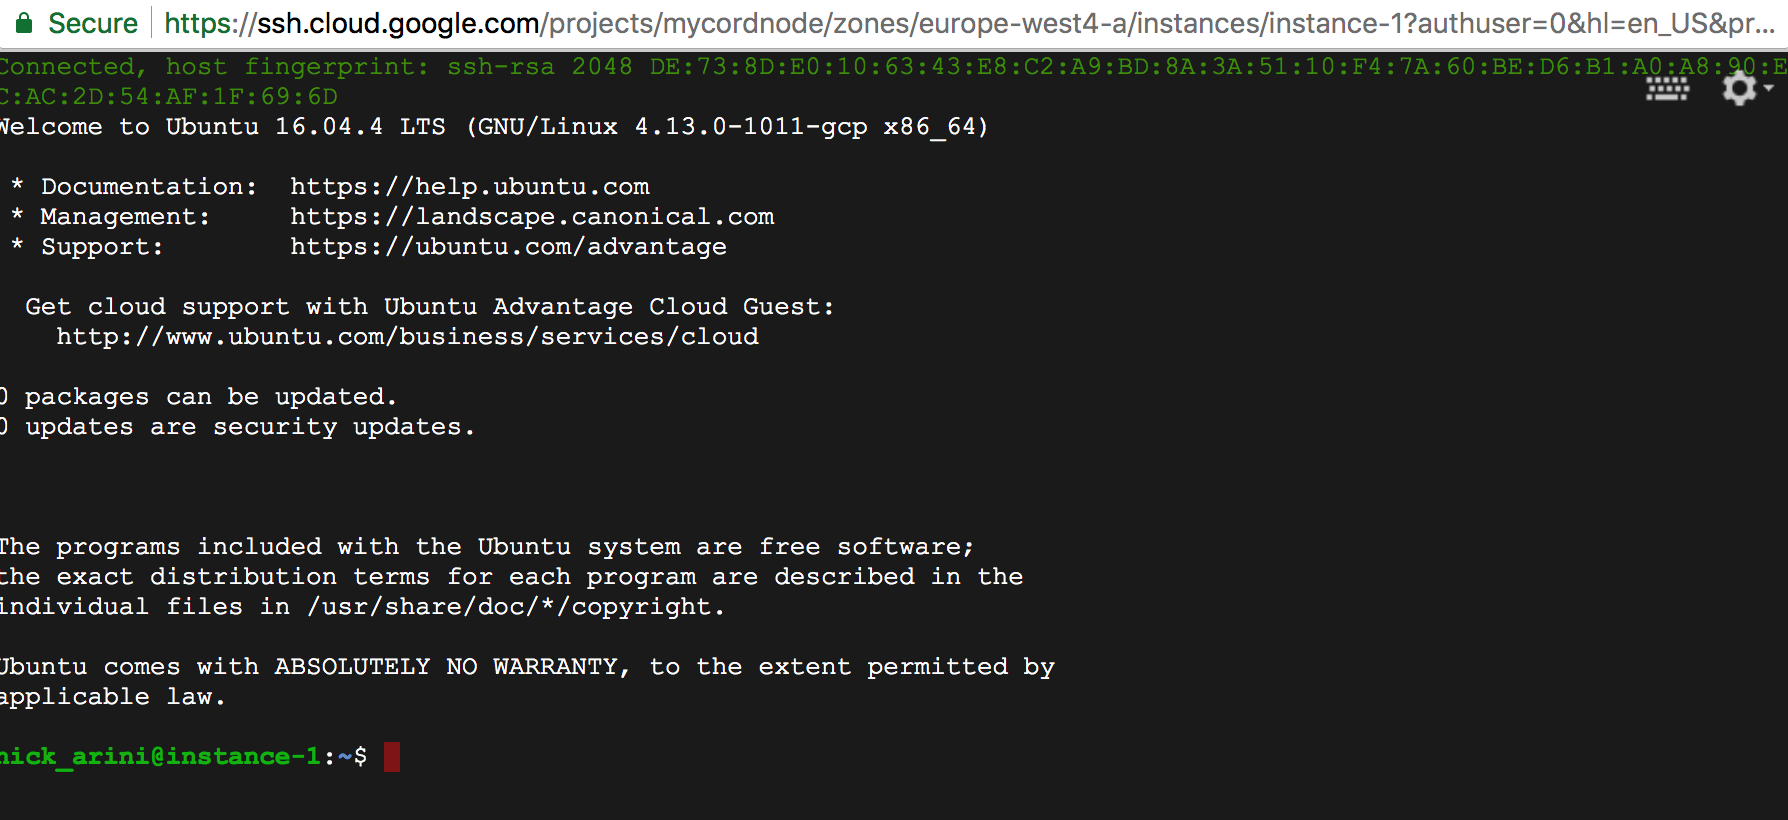
STEP 3: Connect to your VM and set up the environment
Once your instance is running click on the SSH button to launch a cloud SSH terminal in a new window.
Run the following to configure the firewall to allow Corda traffic
gcloud compute firewall-rules create nodetonode --allow tcp:10002
gcloud compute firewall-rules create nodetorpc --allow tcp:10003
gcloud compute firewall-rules create webserver --allow tcp:8080
Promote the ephemeral IP address associated with this instance to a static IP address.
First check the region and select the one you are using from the list:
gcloud compute regions list
Find your external IP:
gcloud compute addresses list
Run this command with the ephemeral IP address as the argument to the –addresses flag and the region:
gcloud compute addresses create corda-node --addresses 35.204.53.61 --region europe-west4
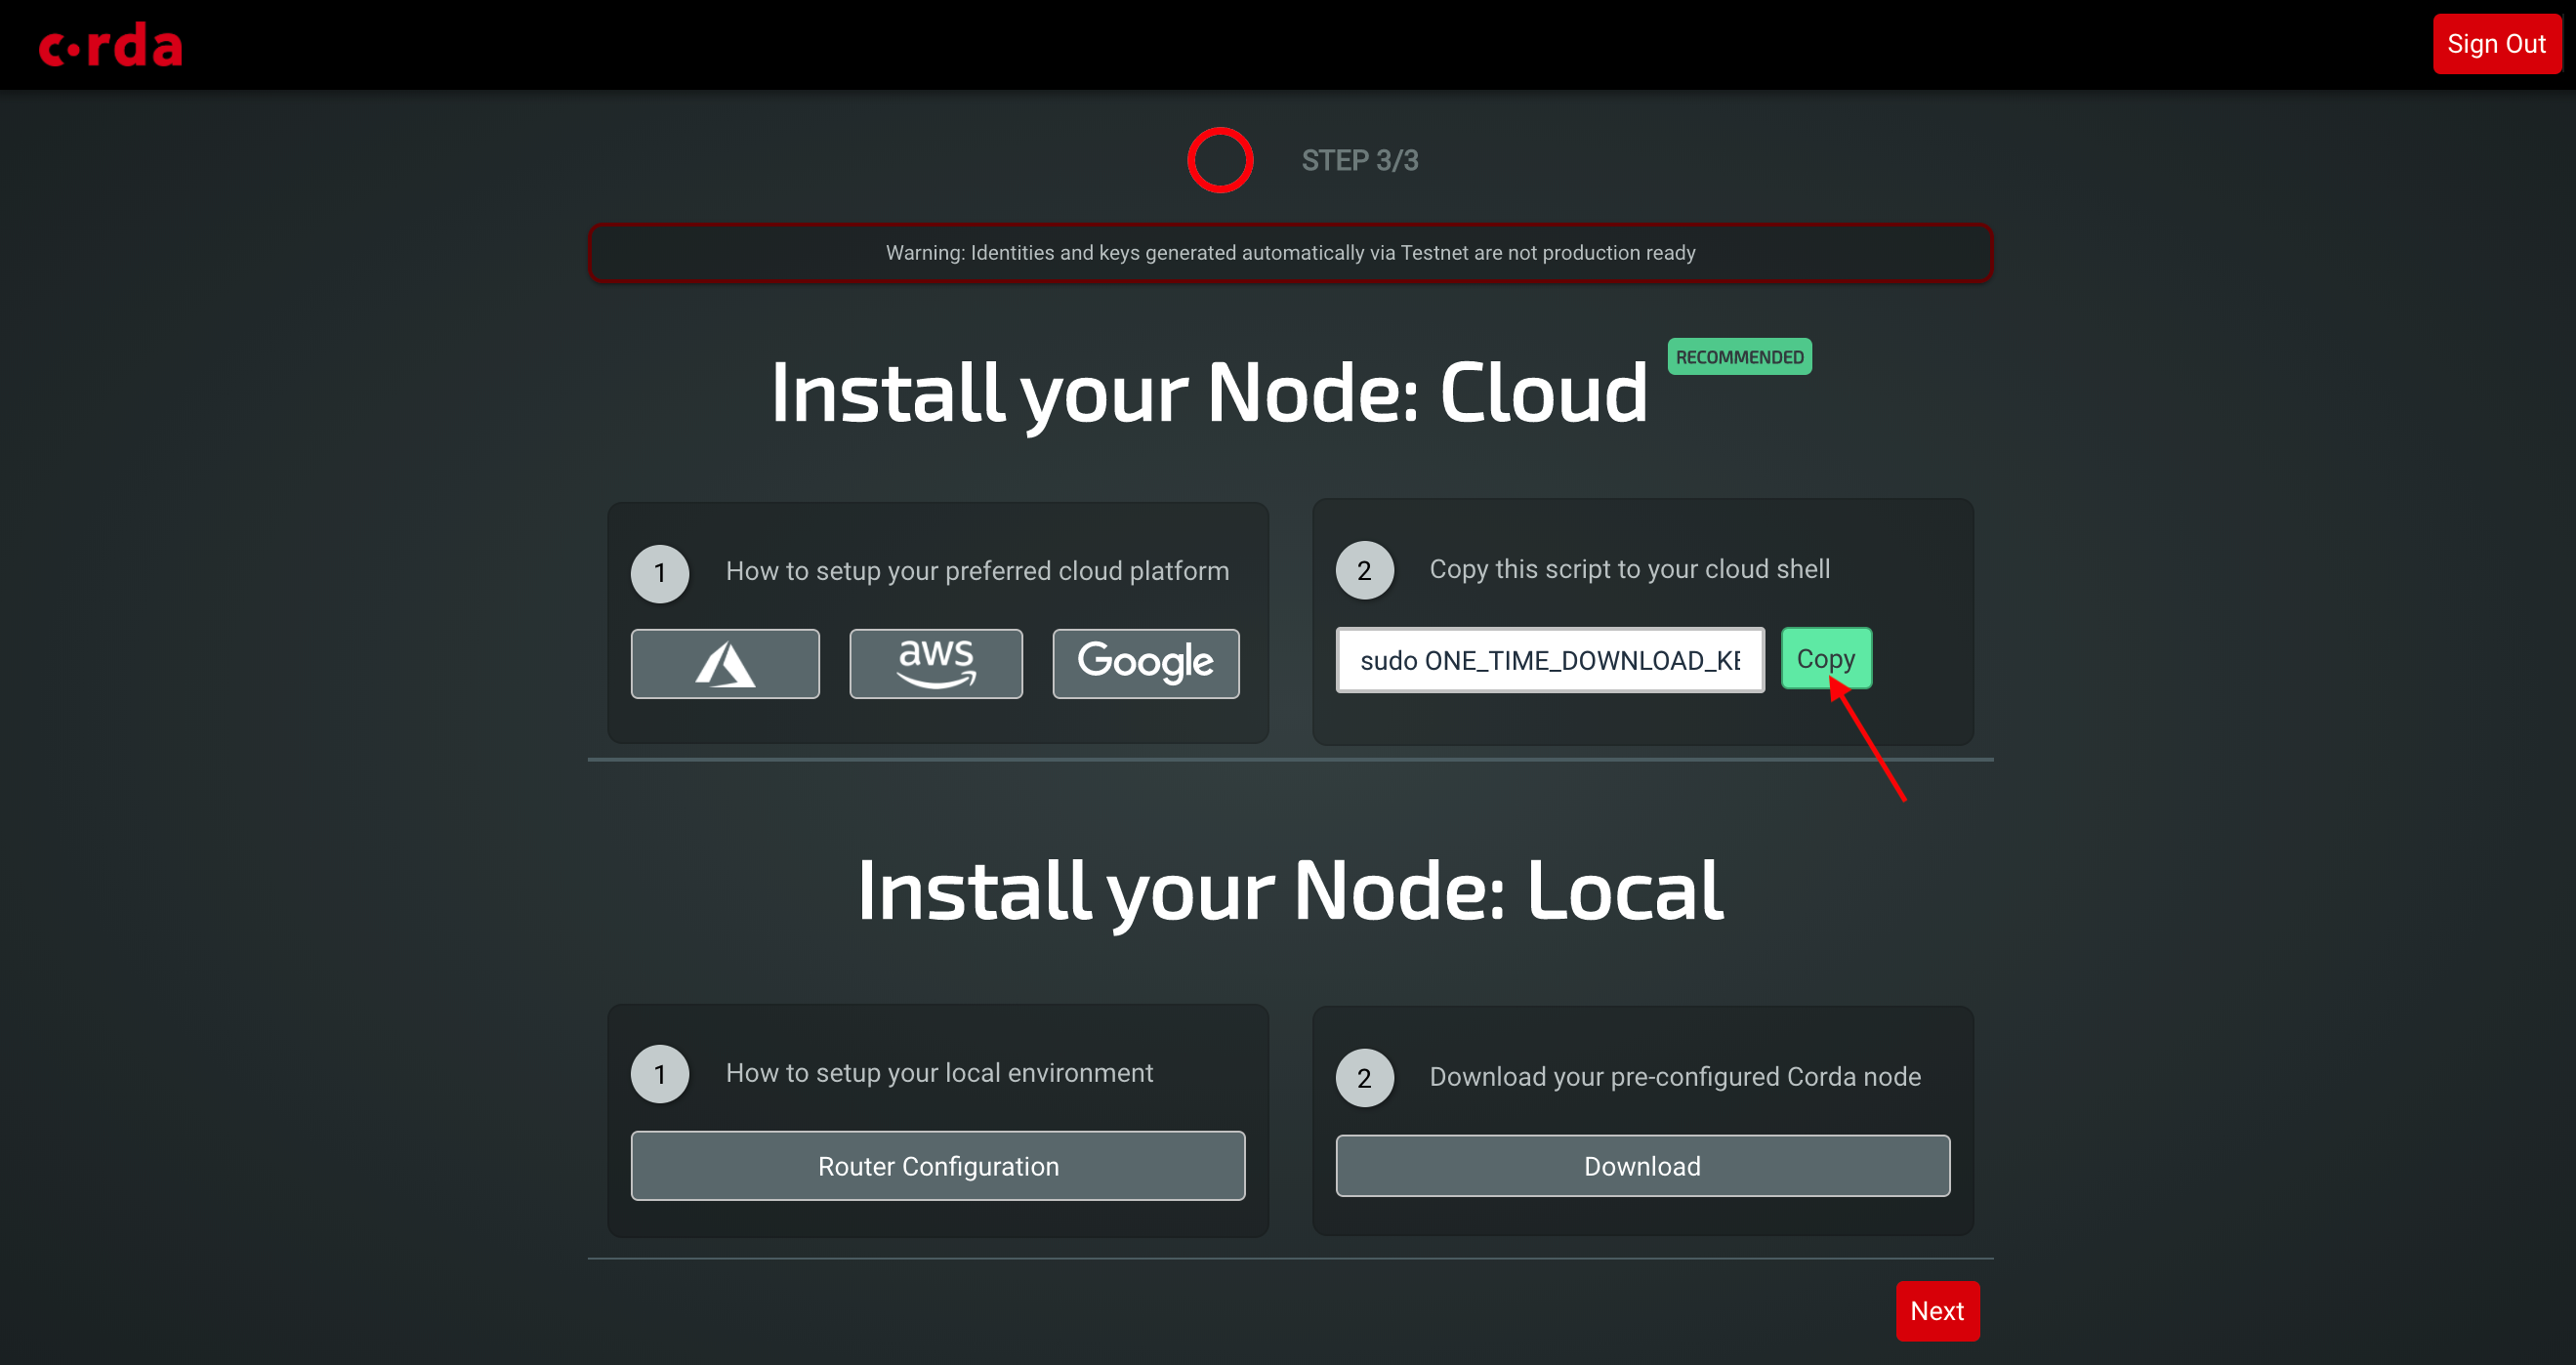
STEP 4: Download and set up your Corda node
Now your GCP environment is configured you can switch to the Testnet web application and click on the copy to clipboard button to get a one time installation script.
注解
If you have not already set up your account on Testnet then please visit https://testnet.corda.network and sign up.
You can generate as many Testnet identites as you like by refreshing this page to generate a new one time link.
In the terminal of your cloud instance paste the command you just copied to install and run your unique Corda instance:
sudo ONE_TIME_DOWNLOAD_KEY=YOUR_UNIQUE_DOWNLOAD_KEY_HERE bash -c "$(curl -L https://testnet.corda.network/api/user/node/install.sh)"
警告
This command will execute the install script as ROOT on your cloud instance. You may wish to examine the script prior to executing it on your machine.
You can follow the progress of the installation by typing the following command in your terminal:
tail -f /opt/corda/logs/node-<VM-NAME>.log
Once the node has booted up you can navigate to the external web address of the instance on port 8080. If everything is working you should see the following:
Testing your deployment
To test your deployment is working correctly follow the instructions in Using the Node Explorer to test a Corda node on Corda Testnet to set up the Finance CorDapp and issue cash to a counterparty.
This will also demonstrate how to install a custom CorDapp.